Wishing all our family, friends and customers a happy and safe Family Day!
Long weekends rule!
Enjoy!
Your Custom Text Here

Wishing all our family, friends and customers a happy and safe Family Day!
Long weekends rule!
Enjoy!
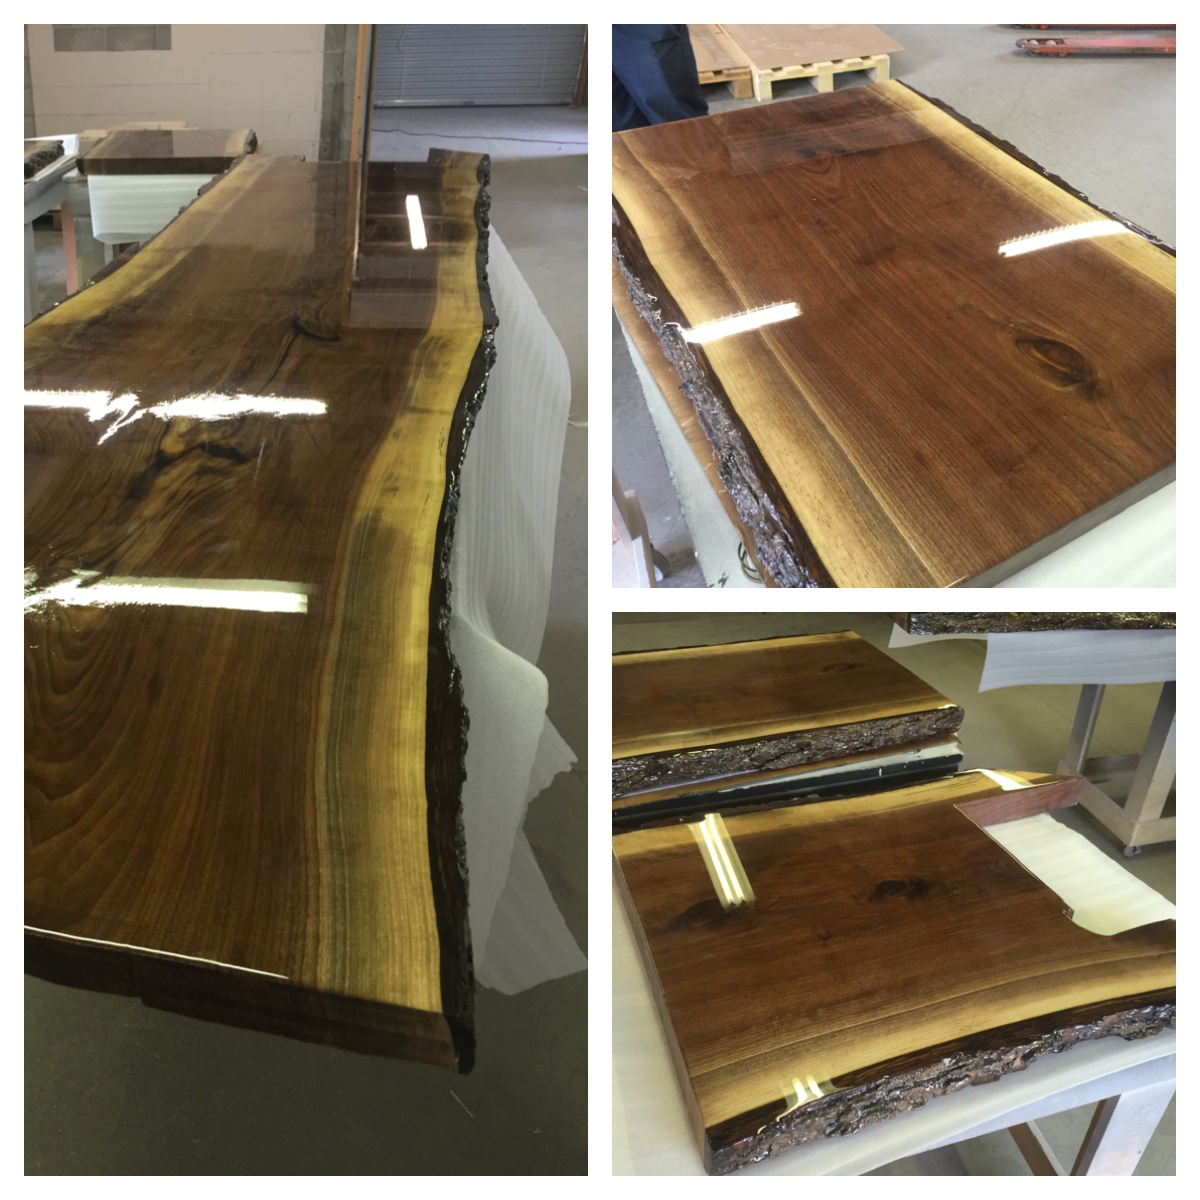
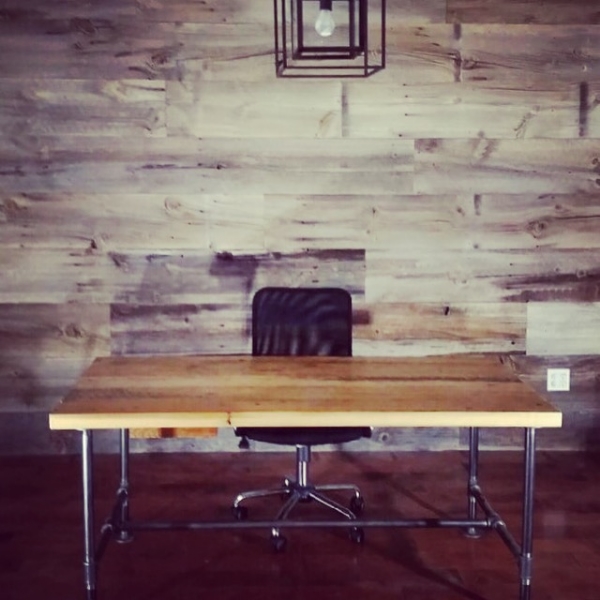
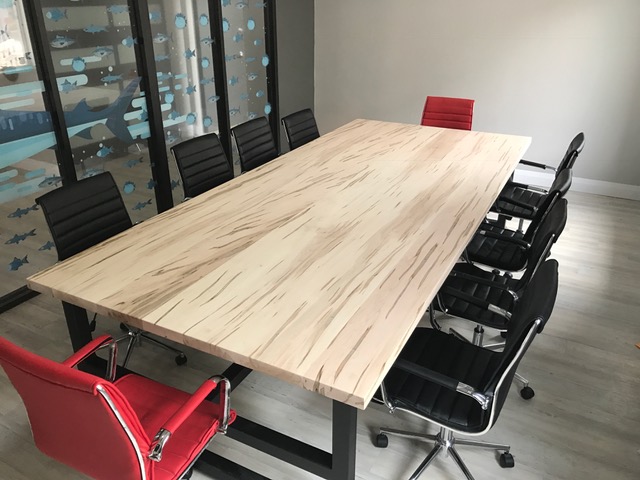
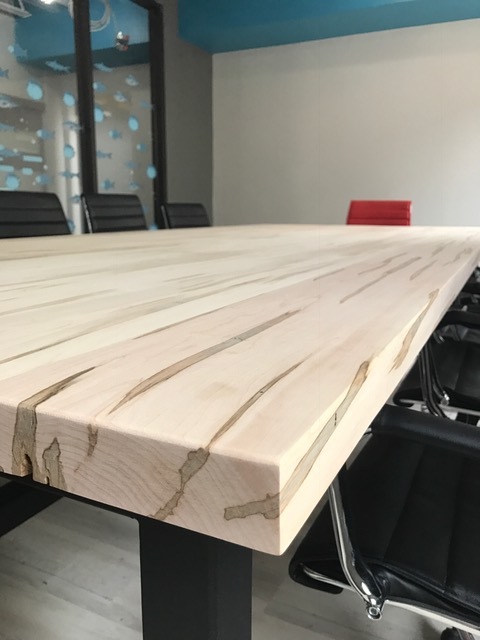
Quick little post on a cool boardroom table we recently wrapped up for our good friends at Tyger Shark. Check it!
The table top is 1-3/4 x 60 x 132 - super heavy!
Cheers
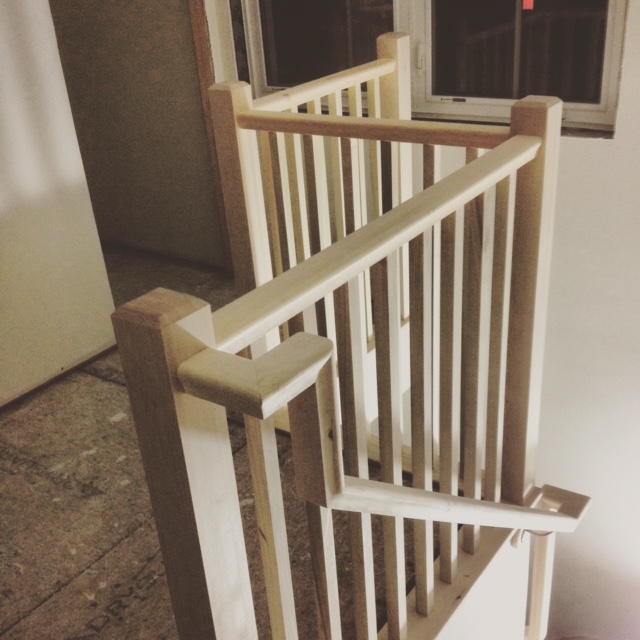
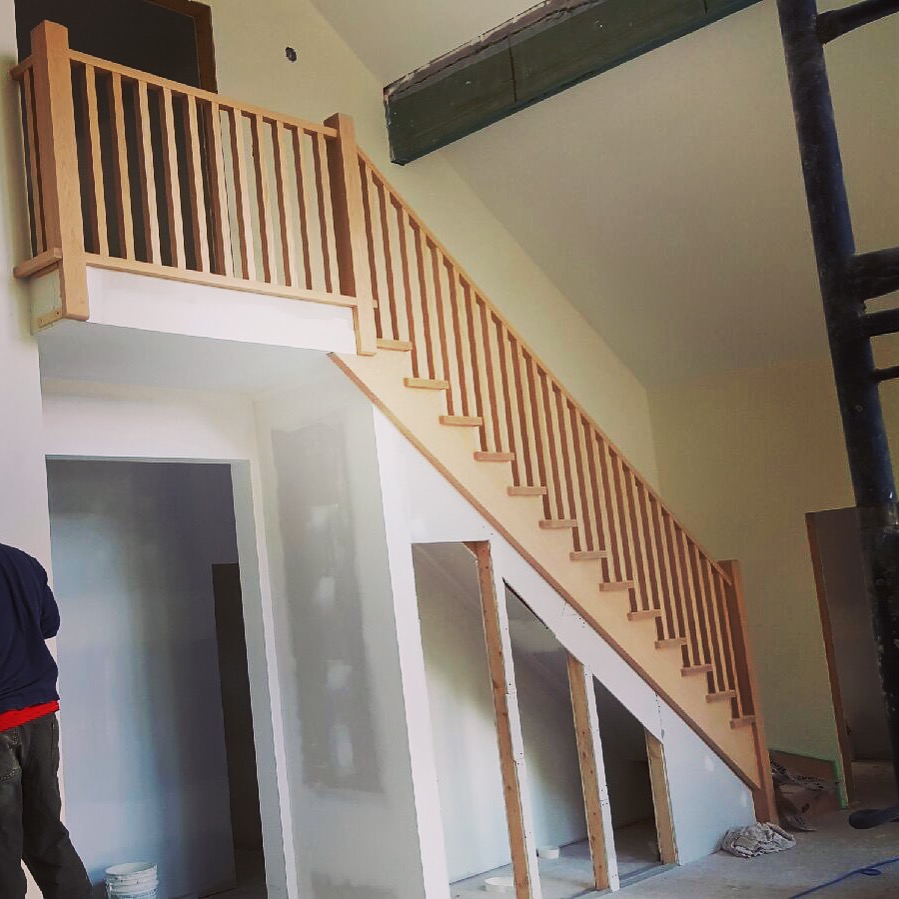
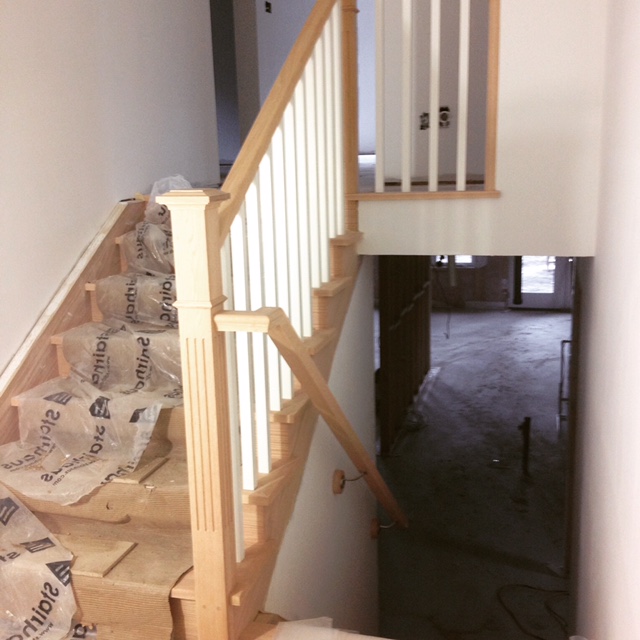
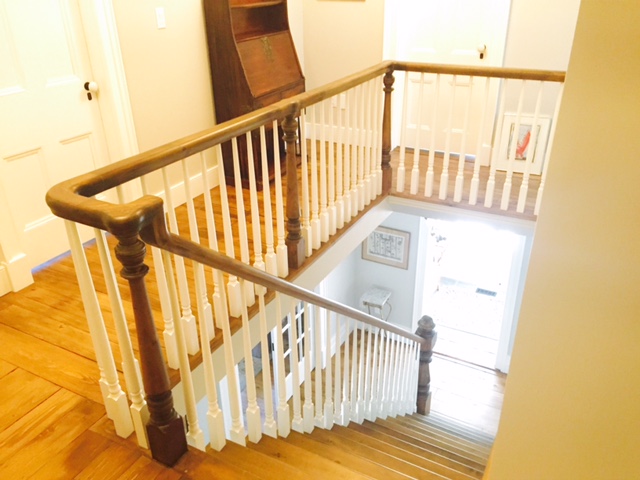
It has been a while since I last updated our galleries. I added some really cool projects to all 3 of our galleries. Take a gander and see what we have been up to!
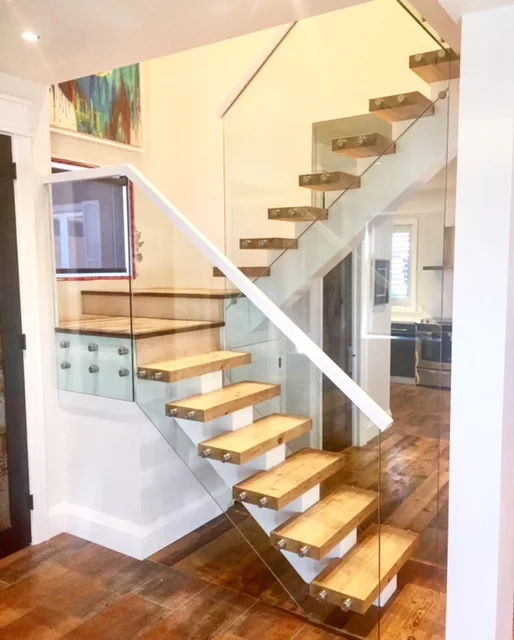
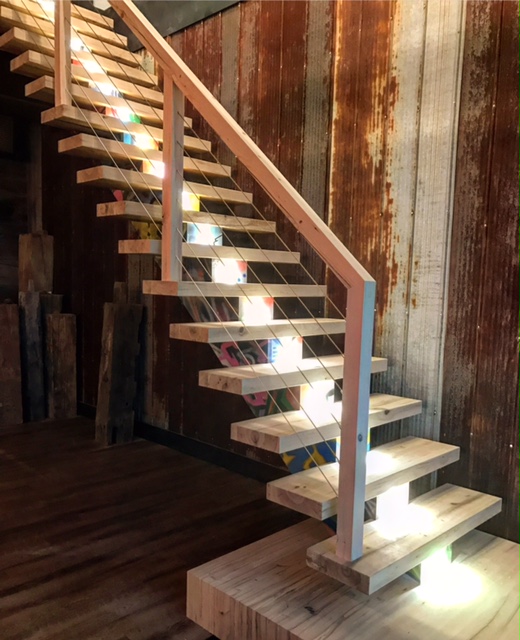
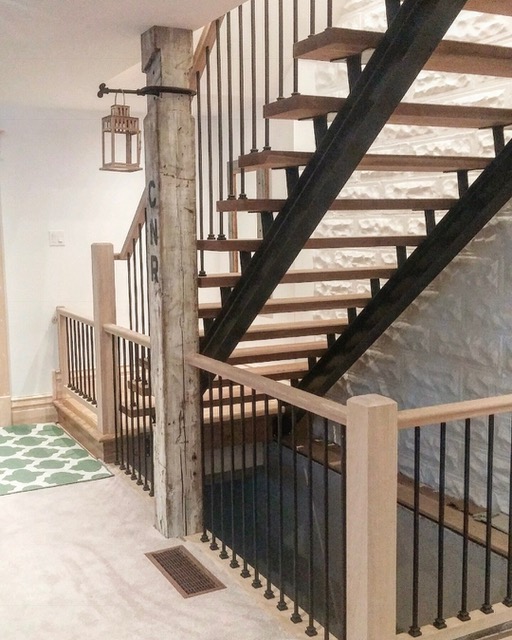
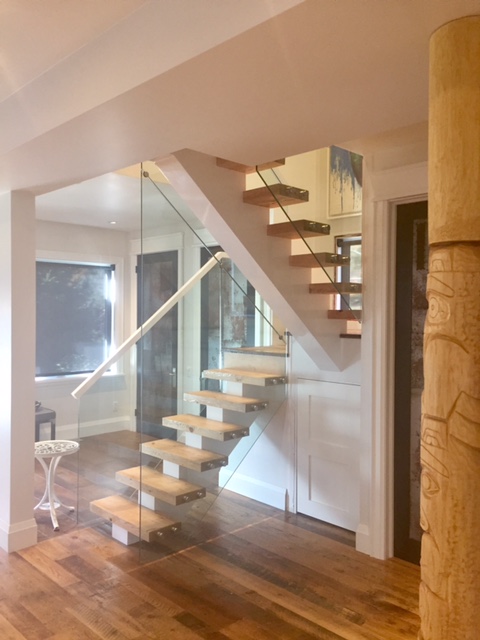
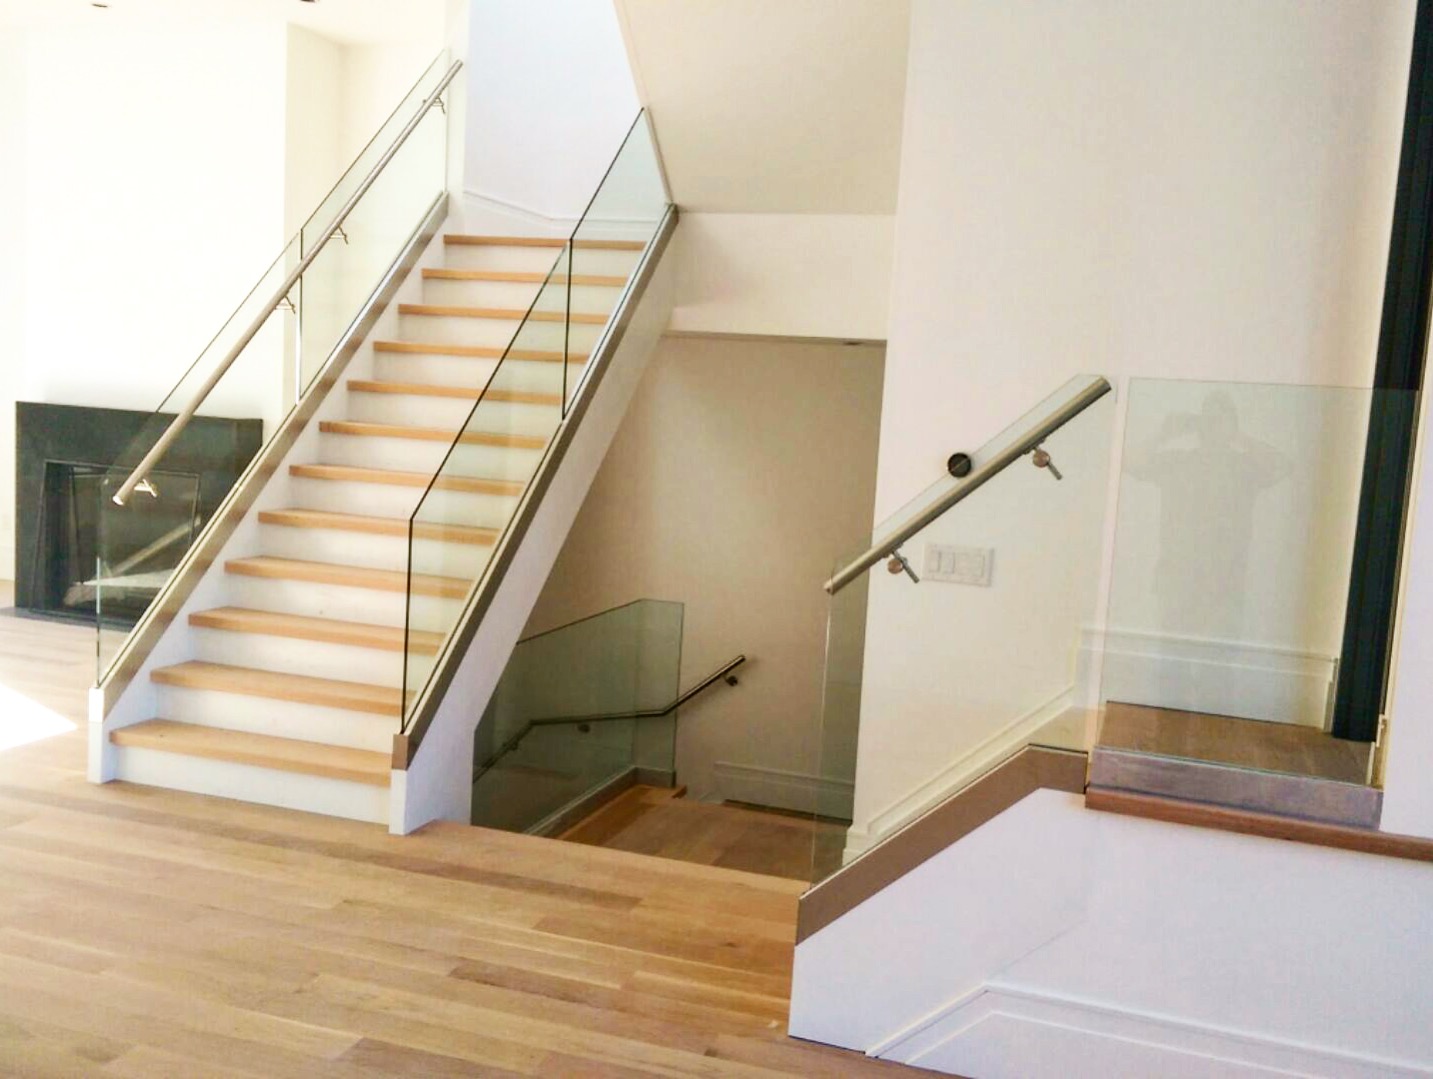
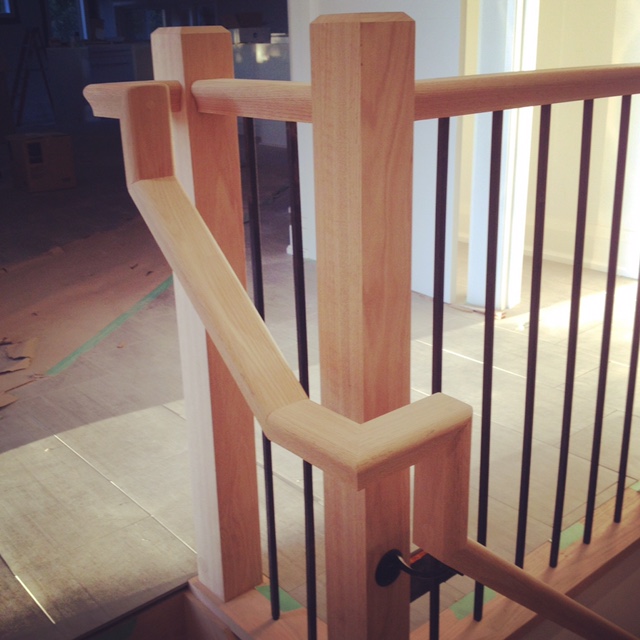
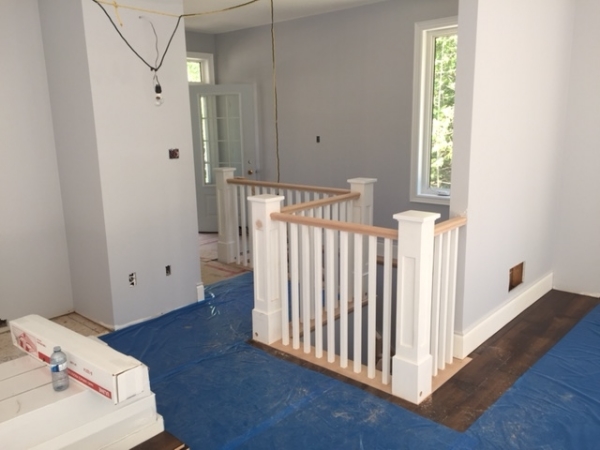
We recently installed and hooked up our tread LED's in our showroom mono-stringer. The lights fit amazing and provide the right amount of light.
There are many ways we can incorporate lighting in stairs. If interested please let us know!
Cheers
Thank you!
We surpassed 7k followers today. We love showing you what we love to do and appreciate the support and awesome feedback we get from you daily. We have so many cool projects in the pipeline, can't wait to show you all. Help us out and share our profile, we have our sites on 10k followers by Christmas! Have a great day!

Head on over to our gallery to check out some projects we recently wrapped up!

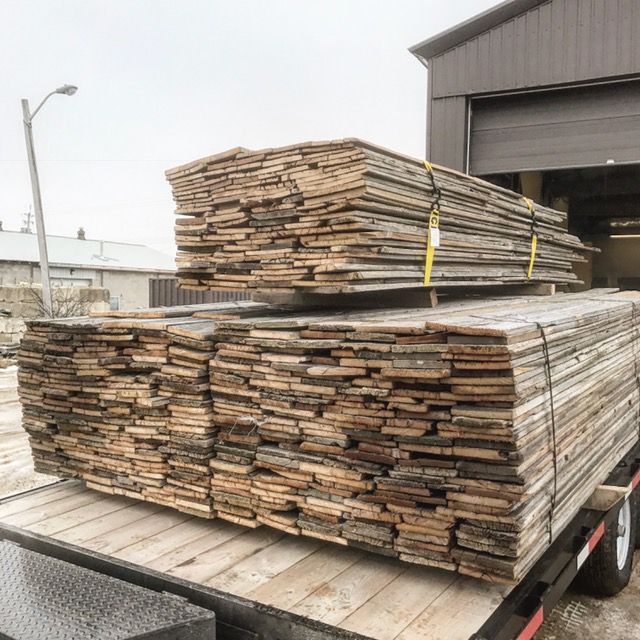
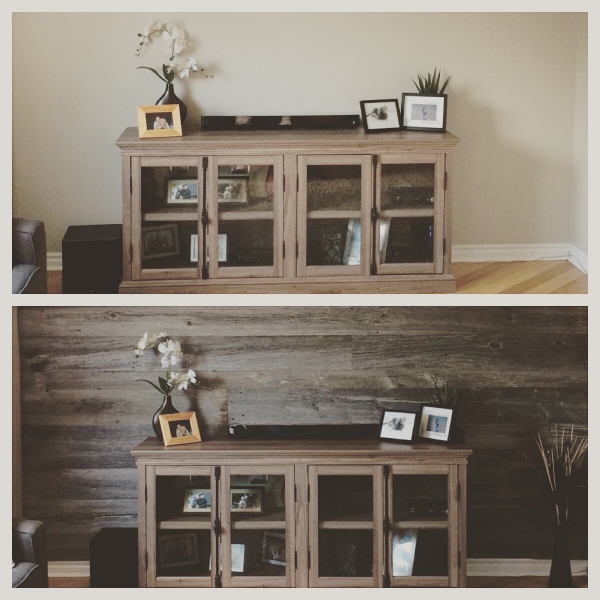
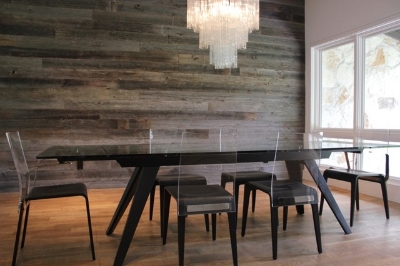
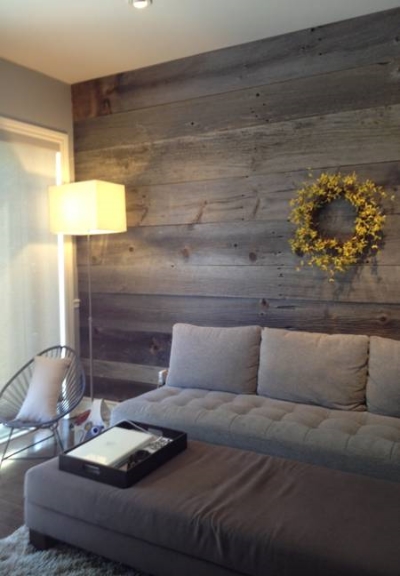
Looking for a cool way to make your house stand out a little more? A barn board/grey board feature wall is very easy to install and will change the entire look of a room. Here at Stairhaus, we sell our grey board 2 ways:
RAW - the material is de-nailed and dry (basically straight off the barn)
DRESSED - the material is de-nailed, dry and ripped to width (we will organize all the cut pieces in stacks of the same size) This material is ready to be installed on a wall.
Regardless of how you want to purchase the materials, if you want a tight fitting feature wall, then the material will have to be dressed.
The barns will be gone sooner than later, get this material before it is not available anymore!

We have some exciting news to share with you................we are expecting!
If you are familiar with the term "too many cooks in the kitchen" then you will understand why we need more space. The Stairhaus production facility is a bee hive of activity every day and we have outgrown our current facility. We will now have 8500sqft to work with which will significantly increase our efficiencies and productivity. We have another couple tricks up our sleeve to share with you however we will save that news for another day! Have a great Friday and enjoy your weekend!
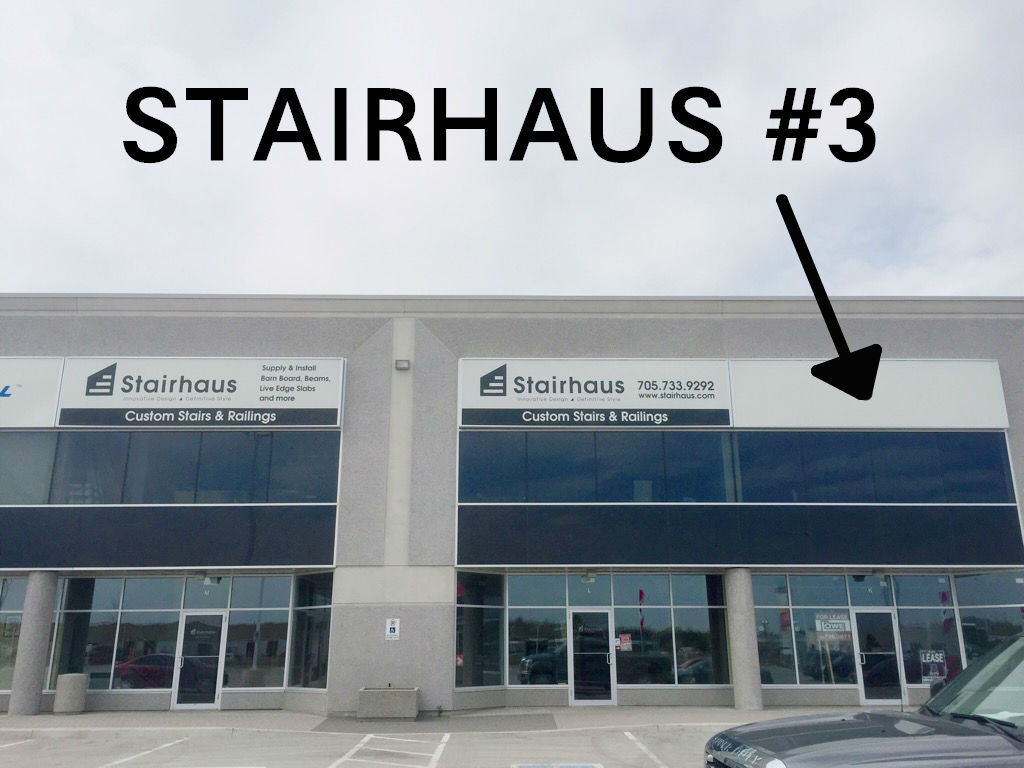
We have been working hard behind the scenes preparing for our grand opening in May (date TBA). Our showroom is starting to take shape and we can't express how excited we are to open this to the public. You will notice that our website address bar now has the "showroom" tab. Professional pictures of the finished space will be taken and added once complete.
We guarantee that you will be blown away with the options, quality and service you will receive. Stay tuned for more updates while things come together!

I just added a pile of new pictures of some projects we recently completed.
Enjoy!


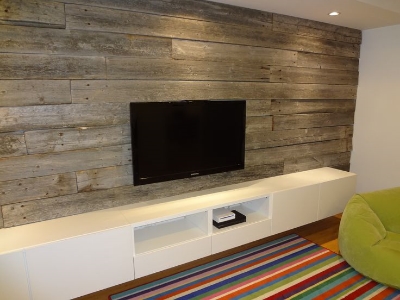
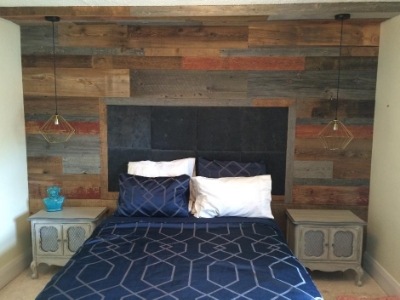
Check out these progress pics from a barn board feature wall we installed this past weekend. Follow a few simple steps and this easy to install project can be installed by anyone with a little patience and a few tools.
Tools Required: 16g air nailer, compressor, hand stapler, chop saw, table saw or skill saw, jig saw, hammer.
Materials Required: dressed barn board, tar paper (roofing), 16g brad nails, staples
Installation:
- cut and staple tar paper to the wall. The black background makes and holes/cracks in the barn board disappear on the wall.
- install barn board working your way from the top to the bottom.
- the jig saw will be required to cut out light switches and electrical outlets.
- the bottom board will have to be ripped to fit against the floor. You can use a table saw or skill saw with a guide.
BOOM! YOU ARE DONE!
The key to a seamless and quick install is having the material dressed and ready to be installed. Let us take care of the supply and shop work, you install and blow your wife's mind!

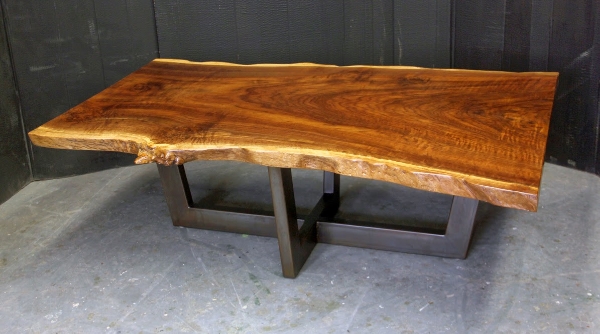
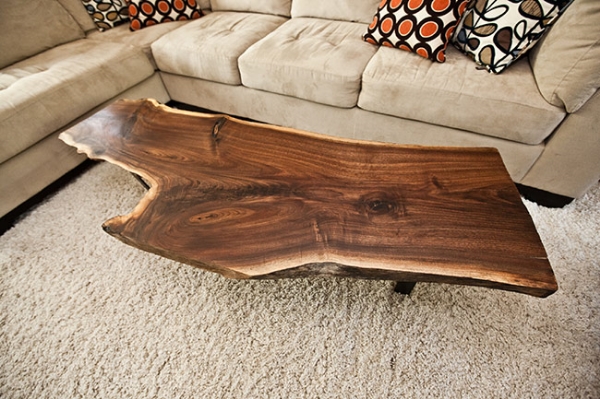
2" Walnut live edge slab with an epoxy finish.
Head on over to our gallery and check out some of our recent work!
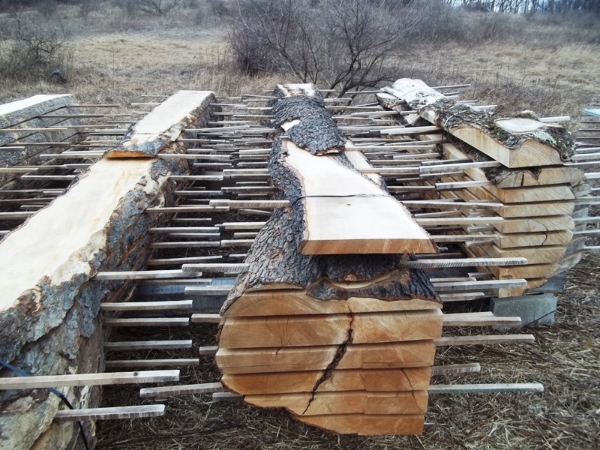
We chopped up a few of our beams this morning in hopes of blowing out this inventory! I have included a size list below, take a look and let us know if one of these is for your house! We typically sell out of these really quickly as they are half the price of what most suppliers retail them for. Most of the mantel beams will range from $200 - $300.
Mantel dimensions:
1) 10"x10"x59"
2) 9"x9"x57"
3) 8"x6"x92"
4) 6"x6"x60"
5) 6"x7"x56"
6) 7"x7"x40"
7) 7"x6"x54"
8) 10"x10"x48"
9) 10"x10"x72"
10) 10"x11"x72"
Gallery has been updated with a few jobs we recently completed! Take a gander!
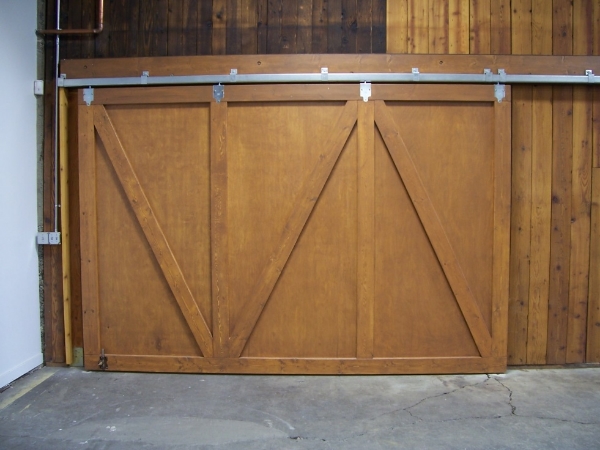
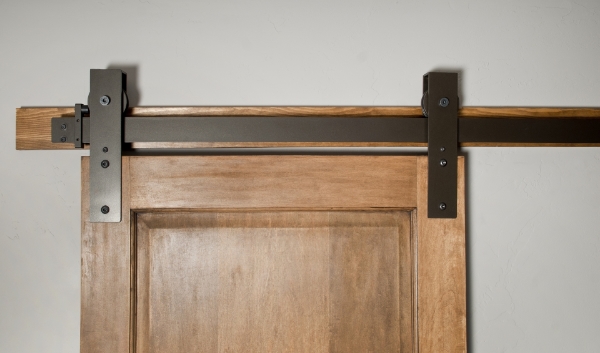
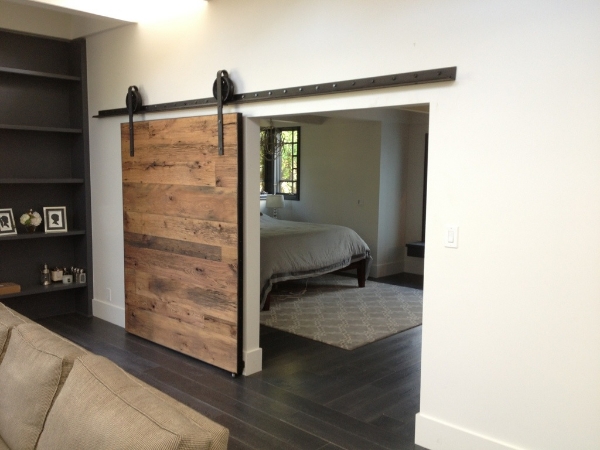
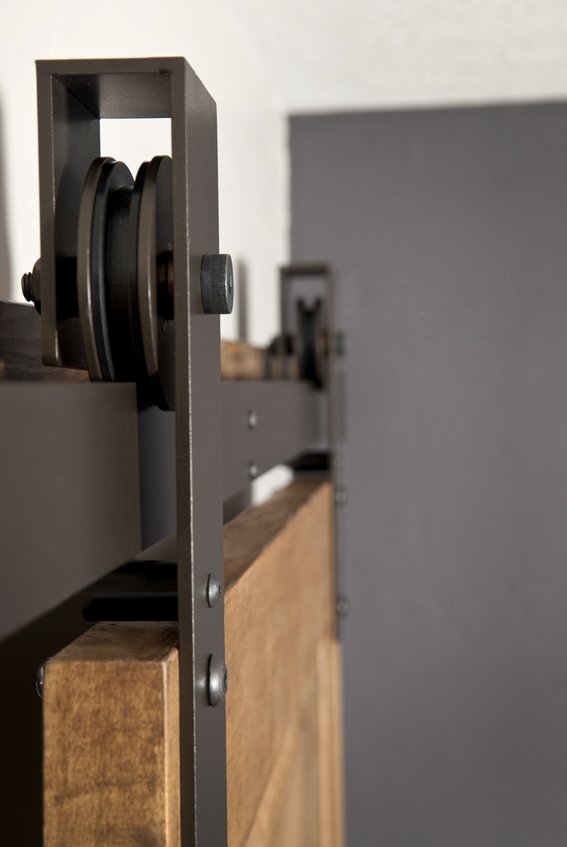
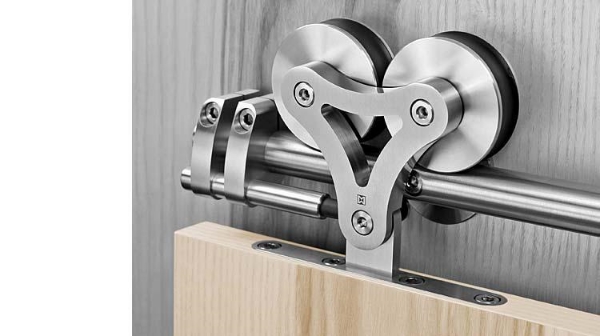
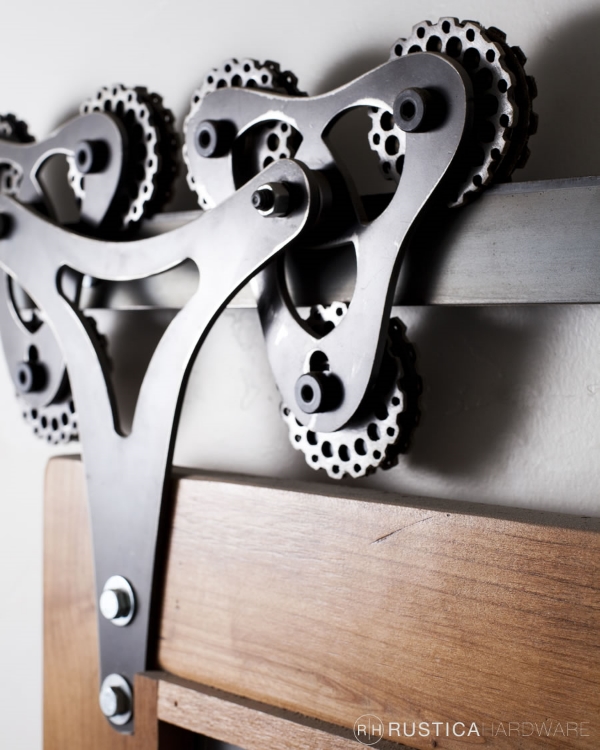
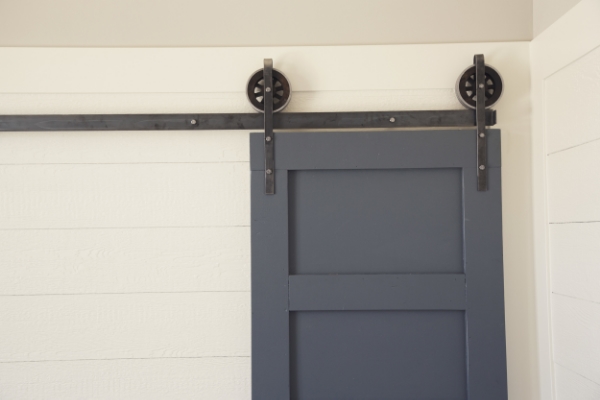
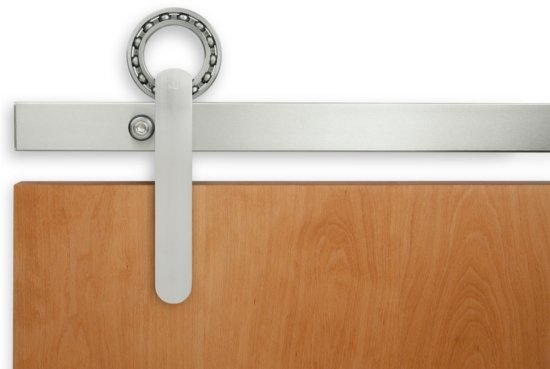
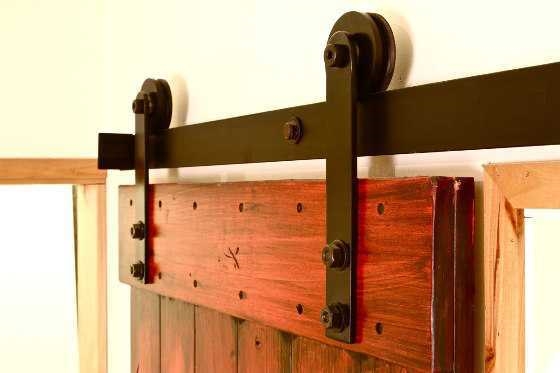
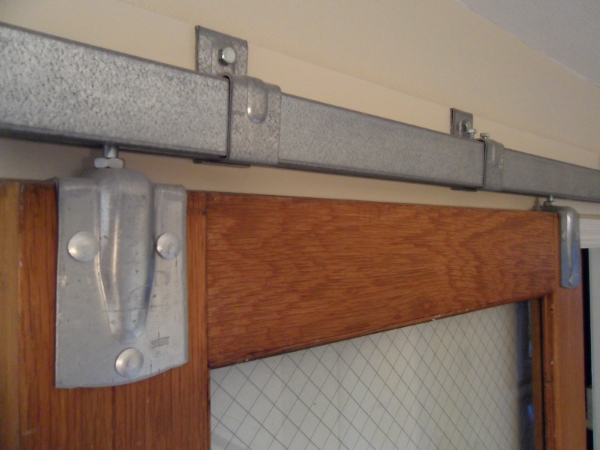
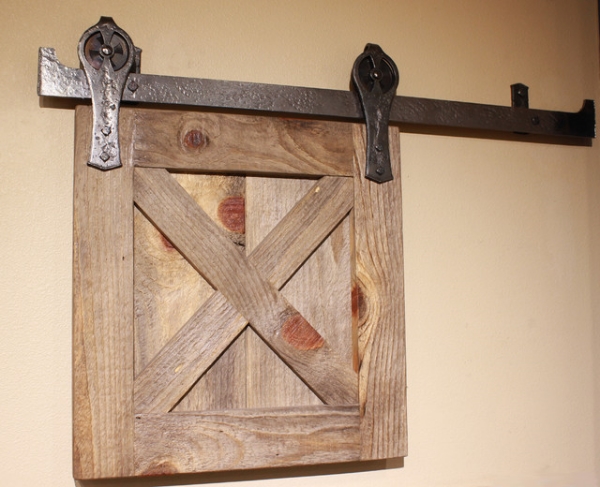
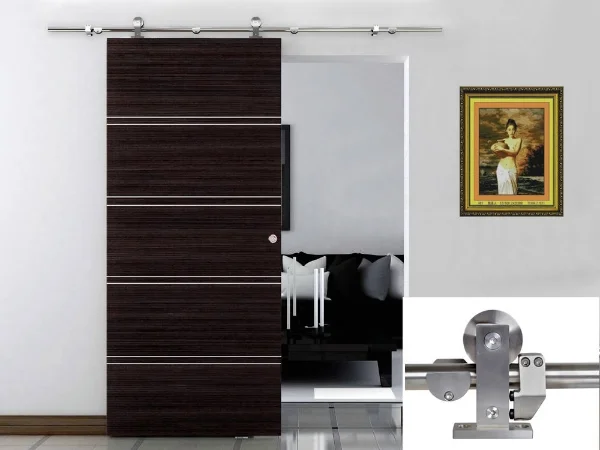
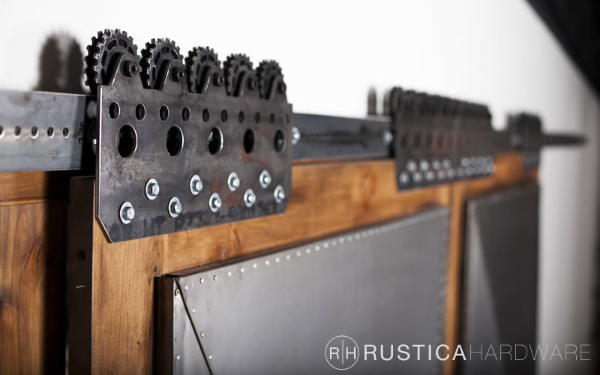
Our initial barn door post was viewed 8000+ times so I figured I would focus in quickly and show you how many options are out there for the tracks themselves. The barn door track has been around 100+ years and has recently exploded in popularity. There are many different styles, colours and sizes now readily available, many offered strictly online only.
Take a look at a few cool track styles I found online. Simply searching "barn door track hardware" will yield a few hundred different examples of tracks that are out there and available for purchase.
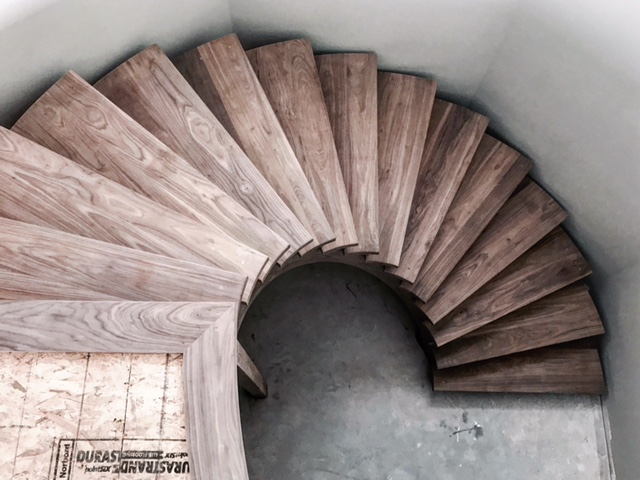
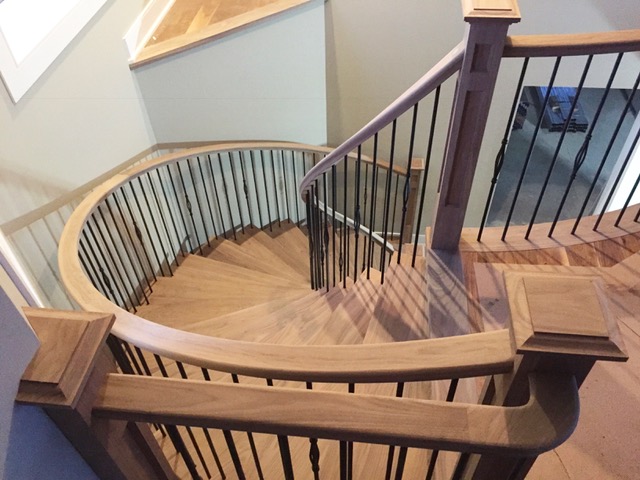
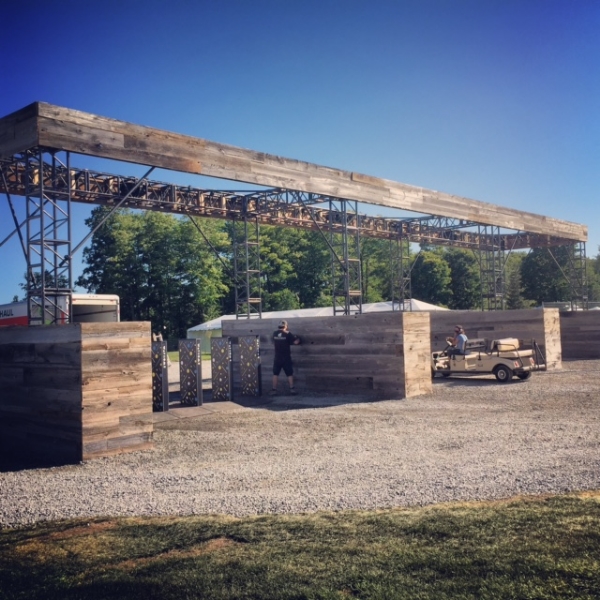
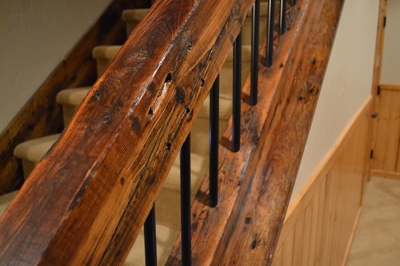
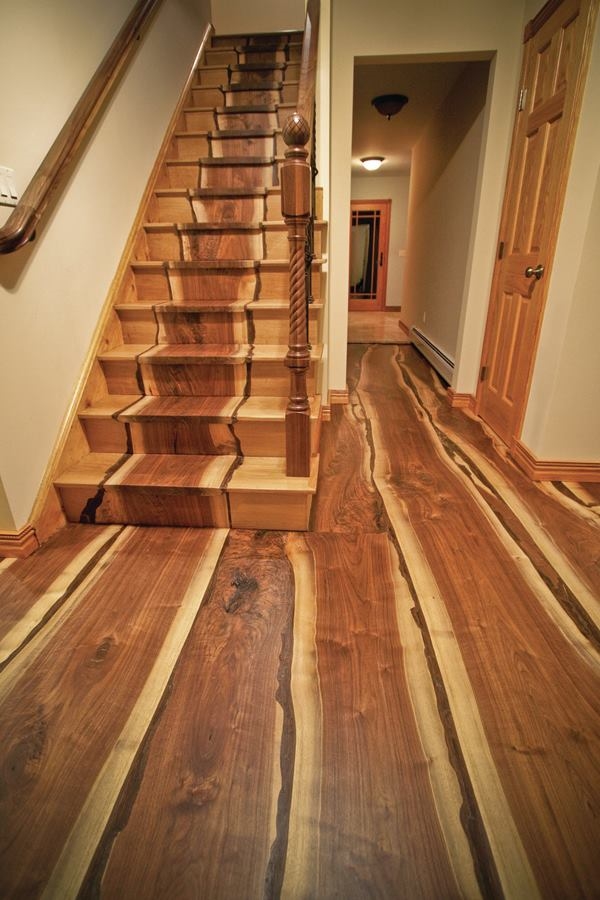
Short and sweet! Here are a few pics of some cool stairs I found on the web that are made from reclaimed materials. We have quite a few requests now for stairs/railings to be made out of parts of a barn, as this is one of the reasons why we got into the reclaimed wood industry.
Take a look!

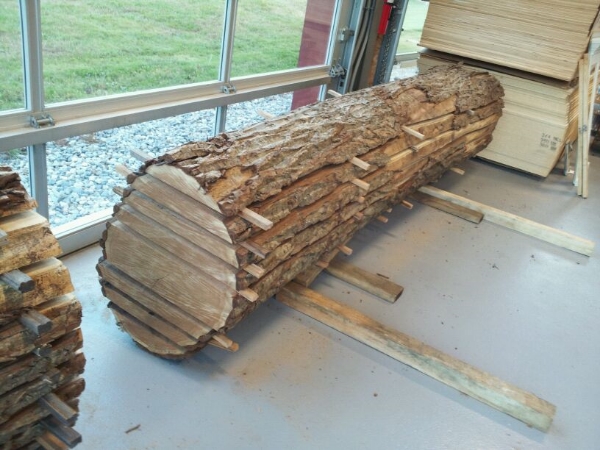
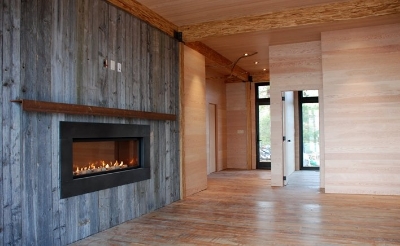
In my opinion, nothing looks better than a barn beam mantel over your fire place. The hand hewn beams have lots of character and give off a warm feel.
Hand Hewn: "hewing" is the process of converting a log from its rounded natural form into lumber (timber) with more or less flat surfaces using primarily an axe. Cleaning up a beam is simple! All you need is a wire brush and an orbital sander. You can either stain the beam or add a protective clear coat.
Mounting a heavy barn beam mantel can be a challenge so make sure you have a clear game plan before deciding to nail one of these to one of your walls. The most common way to install a beam is to hollow out the back and screw it to a mounting bar/plate that is already secured into your stud wall. See below:
Step #1 - Install your mounting plate to the wall.
Step #2 - Hollow out the back of your beam. Apply PL Premium (our favorite) to the mounting plate and inside the beam.
Step #3 - Screw the mantel at the back to the mounting plate that is on the wall. Both the screws and adhesive will make sure that this beam isn't going anywhere.
Click below on a few examples of some really nice barn beam mantels. Here at Stairhaus, we stock beams anywhere from 6x6 all the way up to 12x12. The most popular mantel size seems to be anywhere around 7x7 to 9x9. We can cut them to any length and you can pick out what beam you want to mount on your wall!
Take a look at the gallery below and be prepared to want one of these over your fireplace! It's time to replace that cheap mdf builders grade mantel!

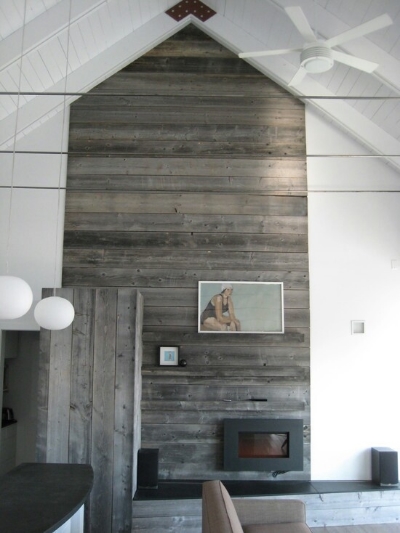
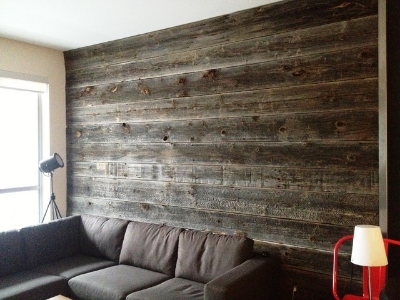
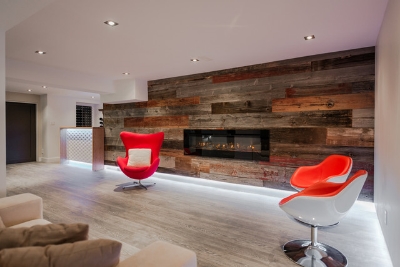
The feature wall seems to be the "in" thing to do these days. If you have been in our showroom, there is no way you can miss the 2 big display walls we installed in 1" grey board. The character you get in the barn board is from decades of wind, rain, snow and sunshine. Generally the grey board has one side grey (outside of the barn) and the inside is brown, giving you 2 options for colour when installing on the wall.
The best way to install the barn board is by strapping out your existing wall with 1x2. After the wall is strapped, we suggest you get a roll of black tar paper (roofing paper) and staple it to the 1x2. This is a cheaper and faster way to "black out" the walls as painting it will take up a of time and money. The black background on the walls will allow none of the defects to show up. If the wall was white you would see through the cracks and nail holes, highlighting the defects.
We offer our barn board 2 ways, raw or dressed. You can save a little money and dress it yourself (ripping both edges of the boards so they are square) or we will dress/prep it for you.
Take a look at a few awesome feature walls in this gallery:
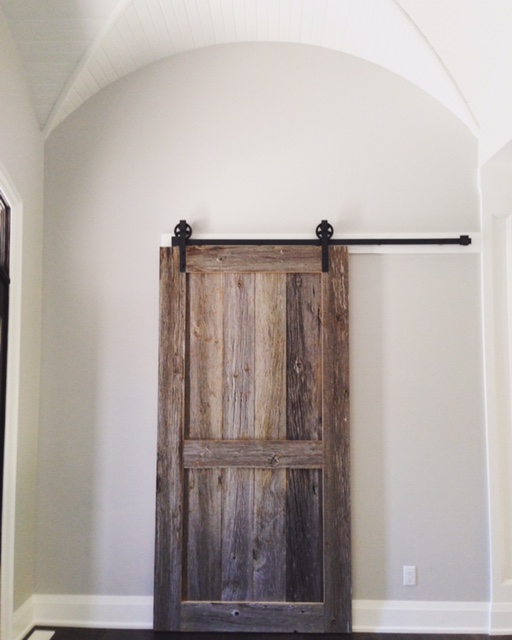
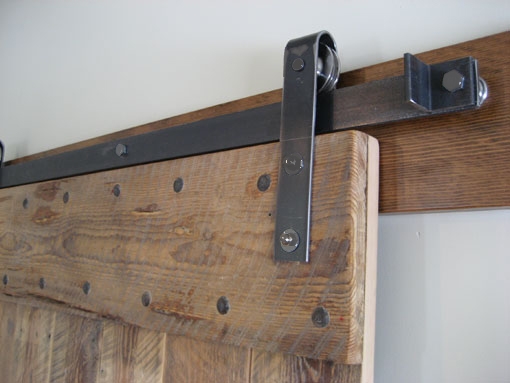
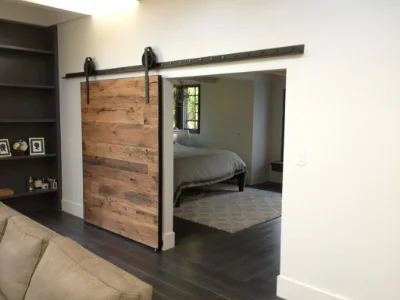
We sent out 5 custom barn doors last week, so I thought it would be fitting to whip up a blog post on these beauties. The barn door style has been around for hundreds of years however recently the demand for tracks has skyrocketed due to the popularity of having functional barn doors inside of your home. Whether we make you a rustic door out of reclaimed materials or you hang a brand new door, we sell the tracks and can offer a variety of door styles you can choose from (we also have barn doors in our showroom for you to see).
Take a look through this gallery and I guarantee you will find a style you will fall in love with!
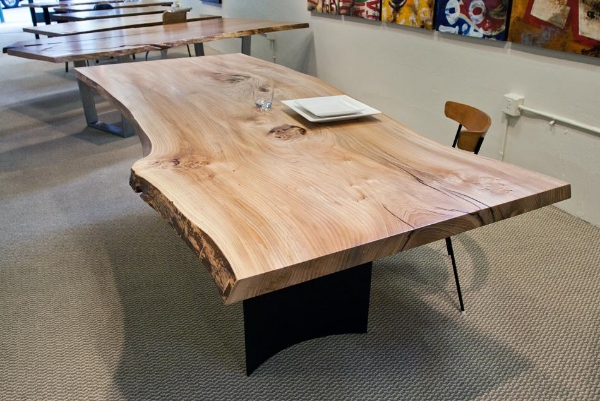
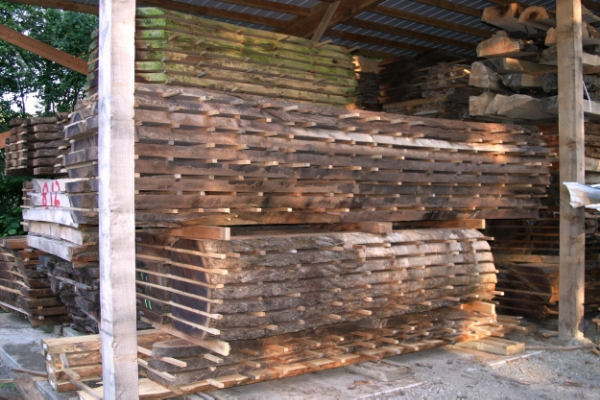
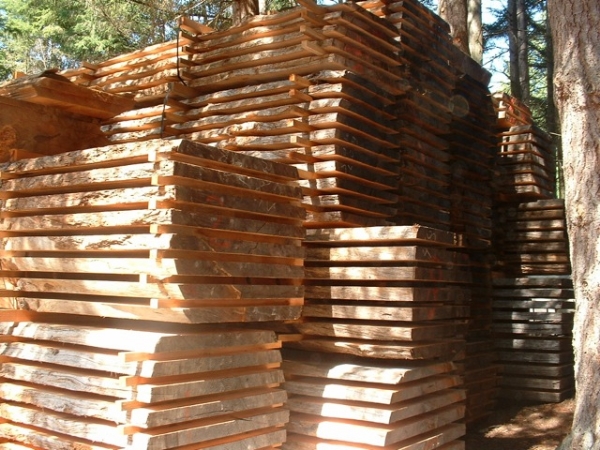
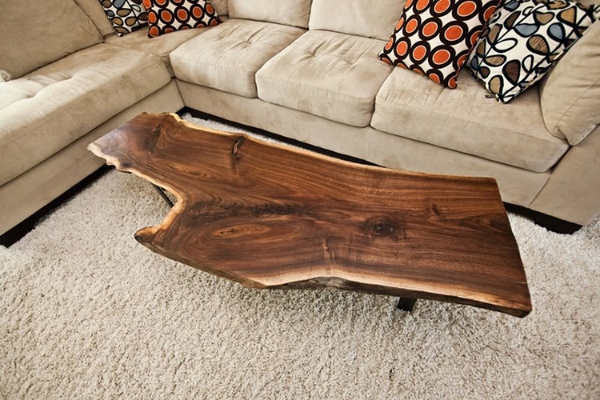
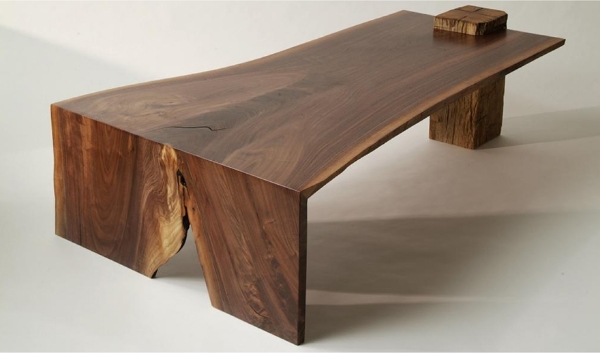
Live edge slabs are where the carpenter incorporates the natural edge of the wood when milling the material. The use of slabs in the furniture industry has exploded in the last 10 years. A lot of the wood used for slabs is usually graded not suitable for conventional milling (D4S or nominal lumber). Table tops are probably the most common use for the slabs these days as they looking amazing and have character like no other!
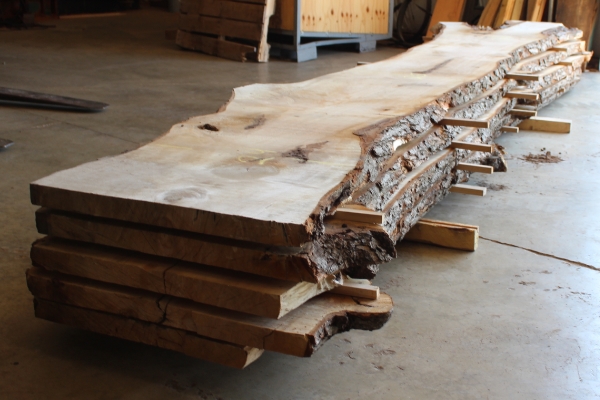
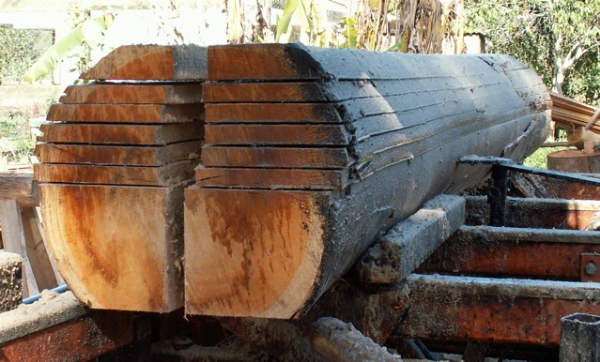
Usually the slab is milled using a modified chainsaw which is mounted to a frame/track which helps you cut the slabs out evenly.
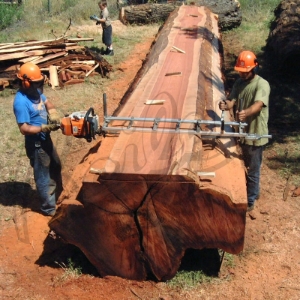
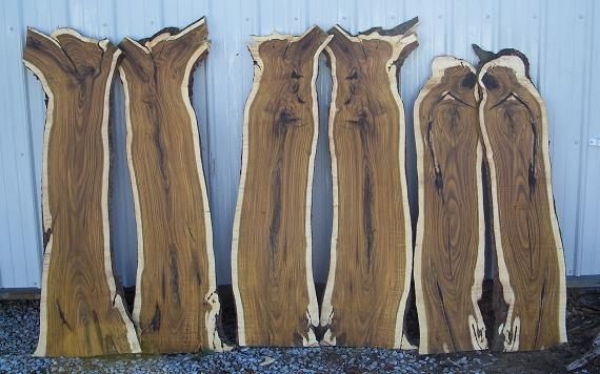
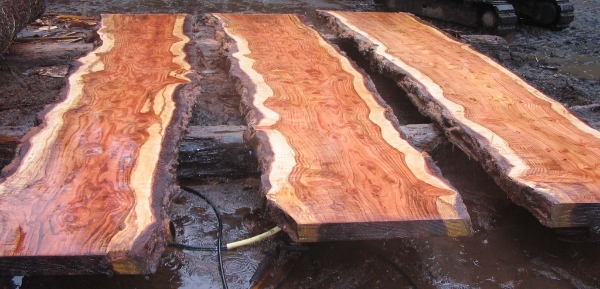
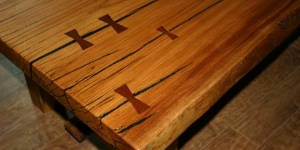
One of the most important steps when milling slabs is the drying time. The slabs we have access to have been air dried for 2 years and then finished off in a kiln. If the slabs are not properly dried, they will check (crack) and basically fall apart. Sometimes "bowtie/butterfly" keys are built into the slab where there is checking present to help stabilize the wood. I love the look of the keys and they are usually made out of a wood that contrasts the main slab so they stand out.
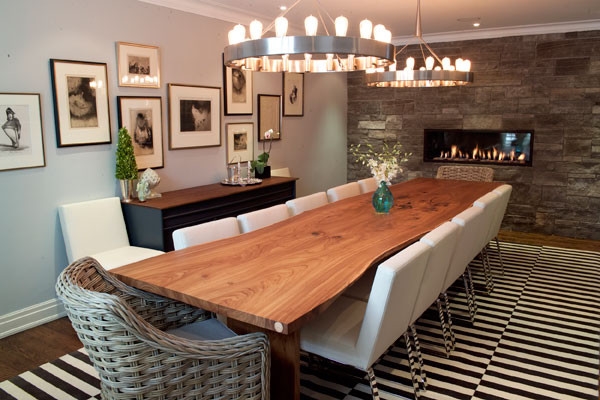
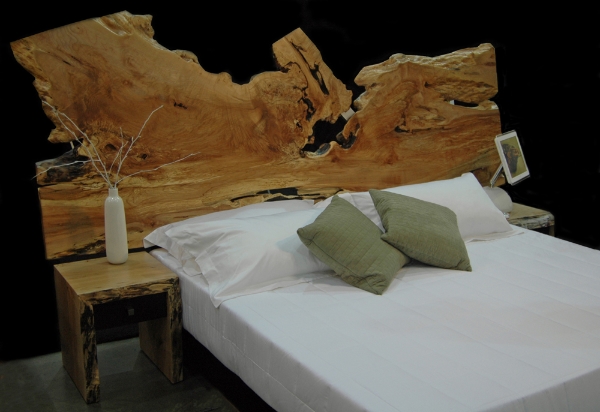
Here at Stairhaus, we have access to some large libraries of slabs which are air/kiln dried and ready to go. We can provide you with a finished table top or give you the slab and let you source your own legs. Epoxy finishes seem to be very poplar these days as they add a thick layer of protection while giving you the ability to see the entire slab clearly under the finish. Below are a few pictures that may get you excited about slabs as they are very beautiful.